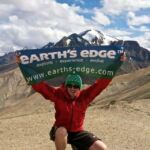
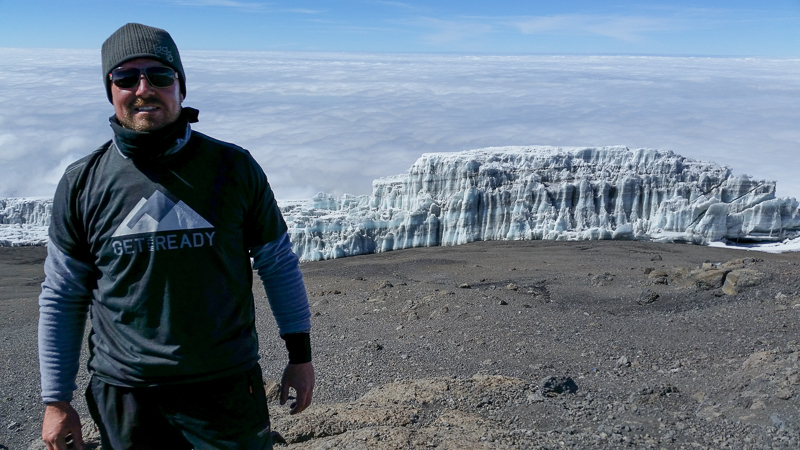
Written by Brendan Hynes, who travelled on our Kilimanjaro Climb in September 2016. In this article, he gives some amazing tips for expedition photography!

Last October I returned from a fantastic expedition to Tanzania climbing Mount Kilimanjaro and going on safari. Travelling with Earth’s Edge was such an adventure with a super all-inclusive package deal. You are so well pampered that there are times you forget that you have a challenge ahead.
Initially, setting out, I knew it had to be more than just a trek and how right was I! What an experience it turned out to be. I can safely say, from a photography point of view, I learned a lot. Having spent the last five years as an amateur photographer dabbling in different genres of the art, particularly sports photography where there is little reaction time, expedition photography is perhaps the best way to learn and enhance your overall photography skills. There is such a vast subject matter on display. Knowing the basics is essential though.
Whether you are an established or budding photographer or you simply want to take photographs with your camera phone while trekking, you will be taking photographs at some stage regardless. Why not prepare yourself like you would prepare your hiking gear. I am sure you have spent hours like myself researching the best down jackets and sleeping bags so why not learn the basics of photography and prepare to capture those memorable moments.

What lenses to bring on Kilimanjaro?
If you intend on bringing a Compact point and shoot camera or simply be using a camera phone, this may not apply to you. If you have a DSLR (Digital Single Lens Reflex) camera or a Compact with interchangeable lens ability, when it comes to what equipment you bring really is personal preference but here are some tips you may find helpful because carrying extra weight is the big issue while trekking.
While packing my bags, the biggest decision for me was whether to bring my 11-16mm wide angle lens. Even though a wide angle lens has huge benefits the weight and limited zoom range concerned me. In any case, I had already exceeded my maximum weight allowance so instead, I decided on my trusty 17-55mm f2.8. A lens like this with a nice zoom range is ideal. Kit lenses can vary in zoom range but mainly cover between 15mm right up to 300mm.
The landscape is so huge my 17mm was wide enough but If I was going again I would bring the wide angle lens. If you are into your photography and have one of these then my advice is to bring it along. Your legs will soon get used to the extra weight! Weight is always a trade-off when going on a shoot, and even more so in expedition photography!
Lenses for Safari
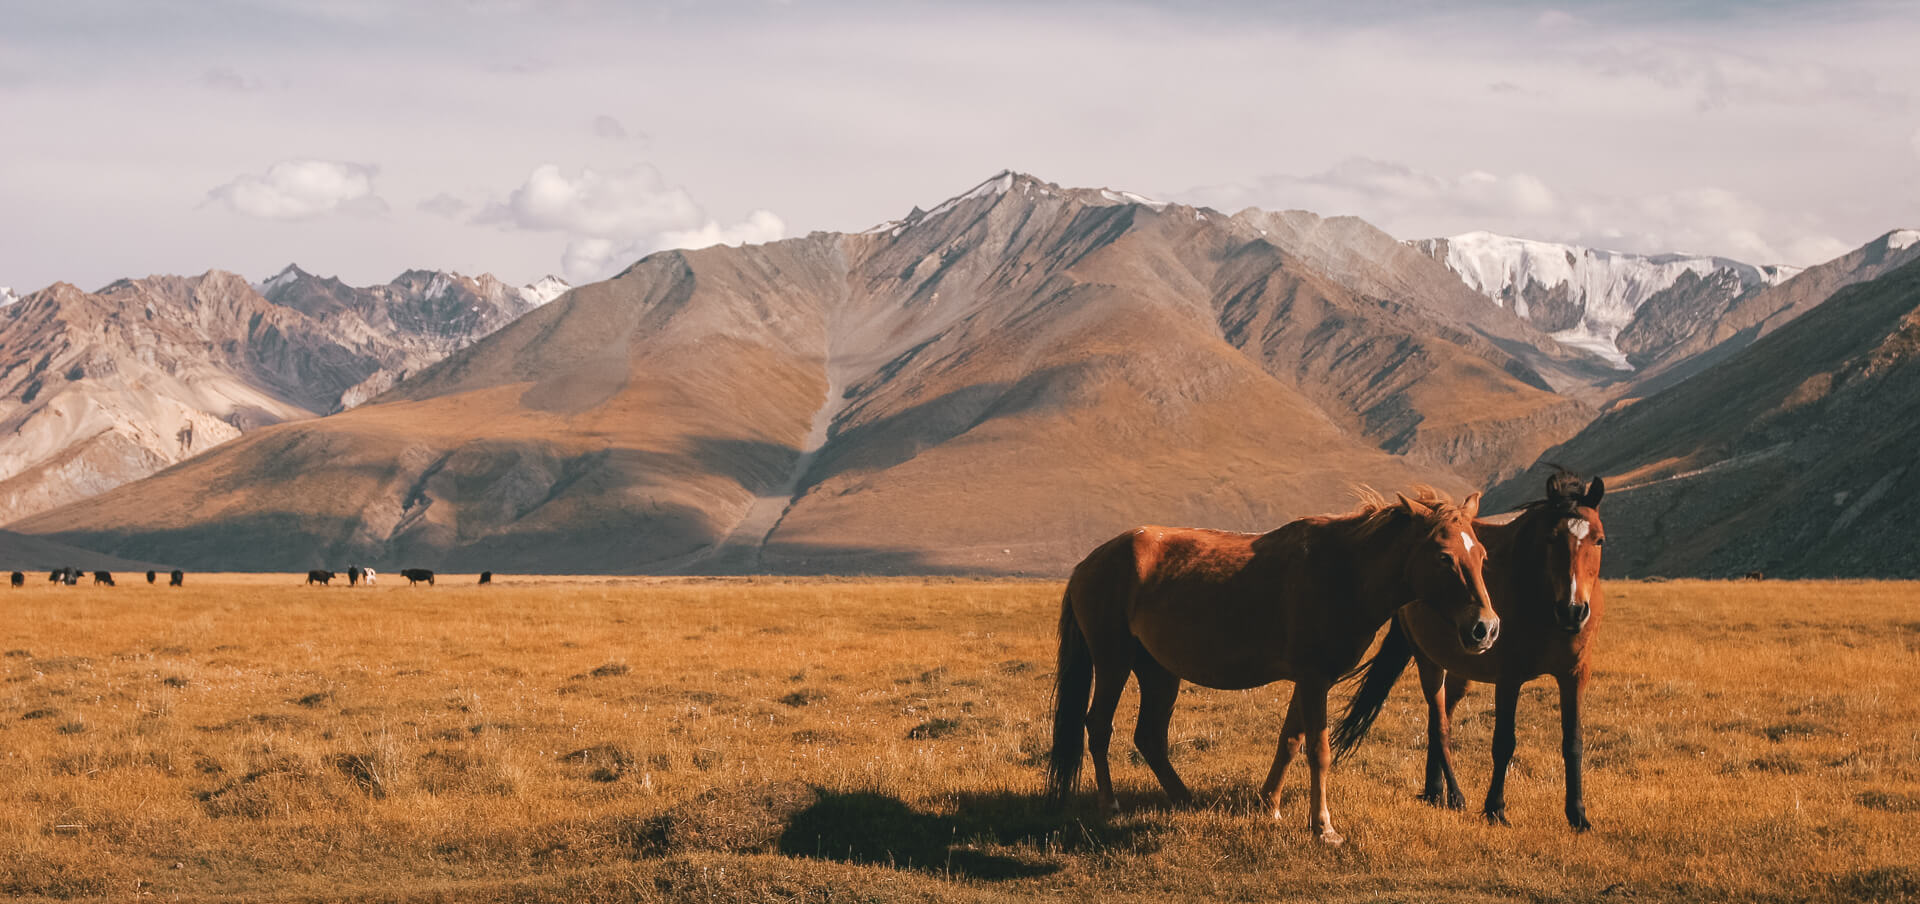
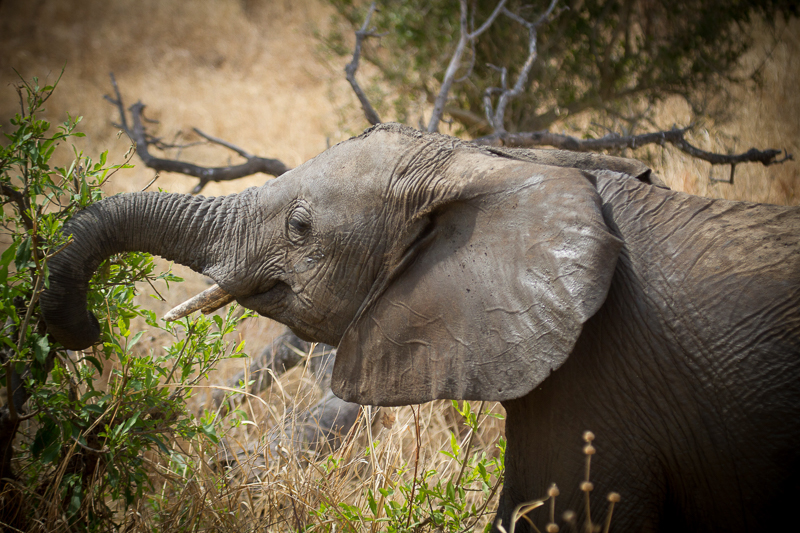
Because I had signed up for a safari after my trek my decision to take my 100-400mm telephoto zoom lens was a no brainer. During my climb, I left it behind in safe keeping back at the hotel. The idea of carrying the extra 1.5kilos for 7 days was not exactly appealing! Telephoto lenses allow you to get close to the action, especially on a safari and I would highly recommend you bring one.
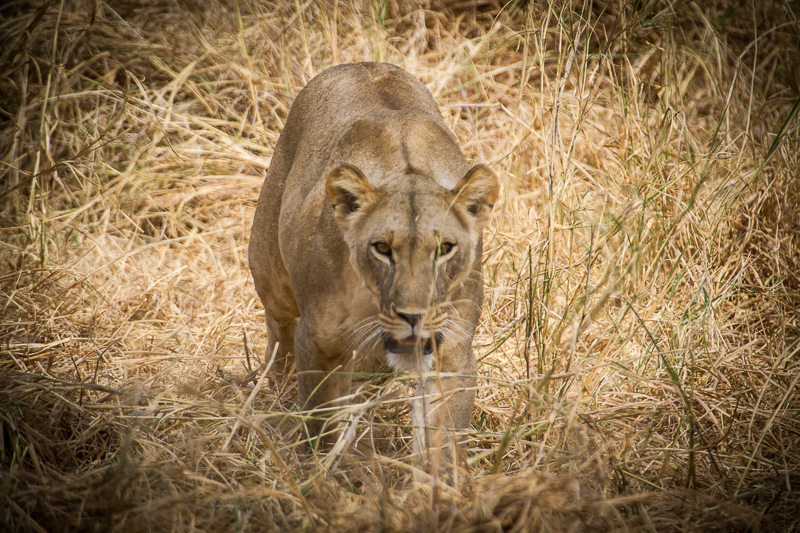
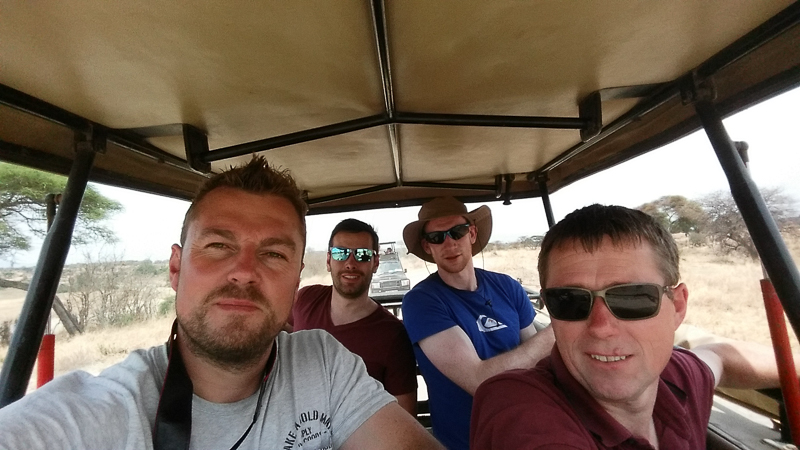
Image stabilization is useful shooting from an open-top safari truck as it does get bumpy. There are plenty of situations other than a safari you may find yourself in where you are delighted you brought it but trekking with this lens and lenses like it would be tough weight wise.
Trekking at altitude requires you to carry many litres of water, food and possibly all your gear depending on where you are going to, so trying to determine the necessary camera gear for your rucksack verses what you can manage is a bit of a challenge. The 50mm f1.8 is a very light lens which takes fantastic photographs and doesn’t cost the earth so that is also an extra option. You can leave your flash at home too.
So, leaving Ireland my camera kit consisted of a Canon 7d, 17-55mm f2.8, 100-400mm telephoto lens, 50mm f1.8, 3 batteries, 4 CF memory cards (two 4g, one 8g and one 16g), a lens filter (not essential), a lens wipe and a couple of drybags for any potential rain. The camera was around my neck most of the time so I would highly recommend a cushioned strap for comfort and 2 carabine non-locking clips to hold your camera tight to your body while not in use. This all weighed a little over 3kgs.
Charging up on Kili
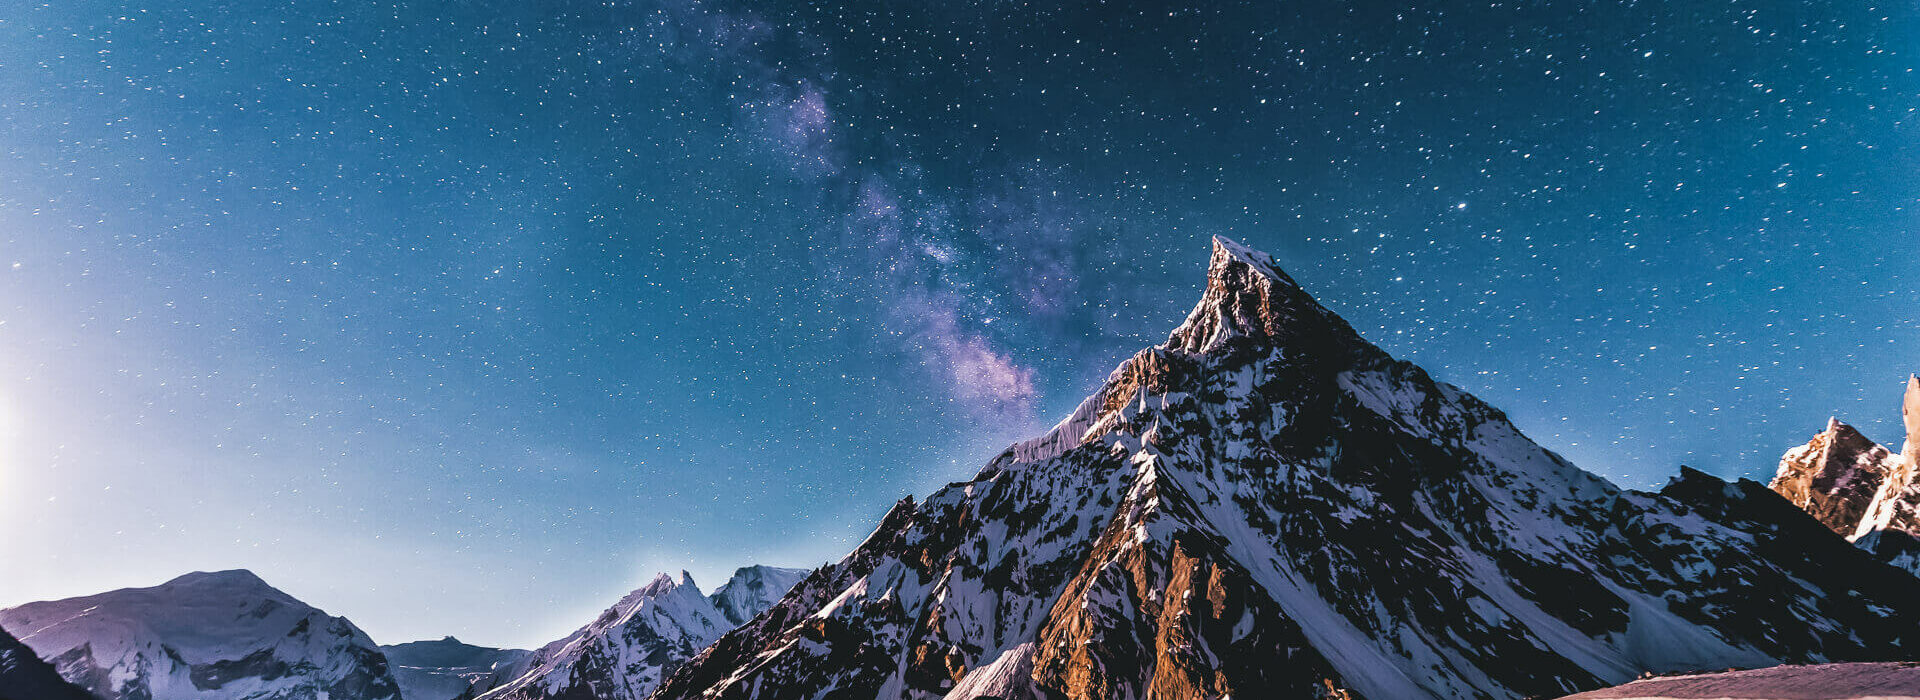
Another battle you will face is conserving battery power. The beautiful reality of no electricity on most high altitude mountain ranges means you will need to fuel up. At least 3 batteries are essential if you intend on snapping every day. Personally, I don’t opt to shoot at everything I see, so battery power conservation should have been easy. Unfortunately, the plummeting temperatures meant that battery power diminishes fast so I ended up having no battery power for the descent trek which was very annoying and a real shame if I’m honest.
Avoid looking at your LCD screen after every shot, in fact, it’s best to turn the review setting off completely. Wait until you are back in your tent to admire or delete unwanted pics. If you have enough card memory, my advice is to wait until you get home. After all, while checking out your image you could possibly miss a great photo opportunity.
Store your spare batteries in a pair of rolled up socks. At night when you are in your sleeping bag, if you are not wearing your down jacket, wrap your camera in that. Insulation is key at -25 degrees! Expedition photography forces you to be creative!

Find your composition
The one basic but most important ingredient to capturing a better photograph is composition. This is something that should be mastered as soon as possible to create better images. By placing your subject right in your frame or by you moving to a better position and knowing what looks right creates a good composition.
To compose means to create or to combine certain elements like light or subject matter. On a trek, it is likely to be you the photographer that does the positioning. The most basic guideline is what’s known as the “rule of thirds”. This is where your subject is positioned in one-third of your frame. The slightest movement of your camera to position your frame is all it may take. If your subject is not balanced correctly in your image, it has no meaning or focal point and it won’t stand out or communicate your intended message. A subject just off centre in your frame nearly always looks better. There are lots of techniques like a frame within a frame, using negative spaces like skies, golden ratios and leading lines all may sound complicated but are simple to understand and ultimately help to achieve better images.
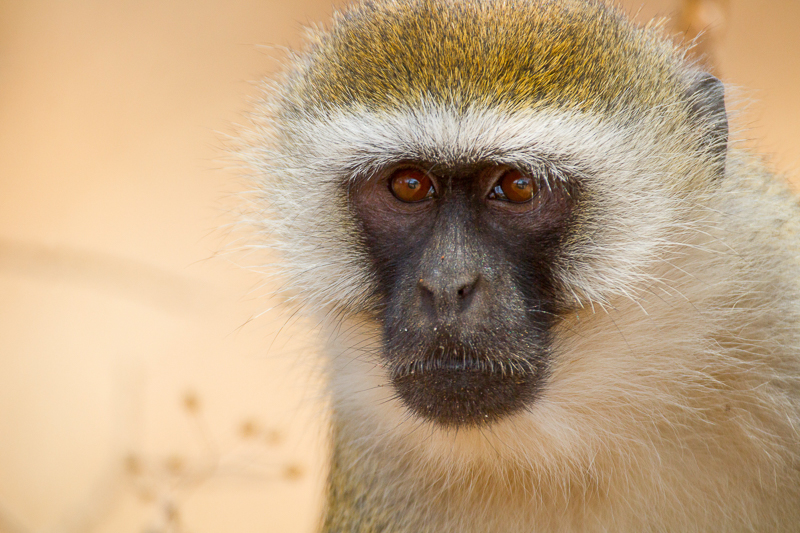
When photographing wildlife, try to focus in on the eyes of the animals especially if you are lucky enough to have them look down your lens. Certain animals like monkeys and ravens are used to human proximity so try to get as close as you possibly can. Research composition and begin thinking about the nature of the shots you’d like to capture while trekking.

The best expedition photography camera settings
On any trek, you are obviously on the move for the most part and photographing can get tricky particularly if you are part of a large group. To capture nice shots as you trek is knowing how to switch fluently between your camera settings at ease.
Firstly, it is advisable to take your camera off Automatic Mode. A crude example to explain auto on your camera – let’s take our eye. When light is shone in your eye, it automatically contracts to reduce the size of the pupil to reduce the light intake. This all happens involuntarily and is out of your control (thankfully!).
This is similar to the auto settings on your camera as there is nothing you can do to manipulate this either. Your camera sets the aperture (light intake gate), the shutter speed and the light sensitivity (ISO) for you. Your camera cannot predict the type of image you seek. If you want your subject prominent in your image with a blurred-out background or foreground or even try to take the perfect silhouette photograph with a beautiful sunset, you cannot realistically achieve this using automatic mode.
Switch your camera over to Manual or at least Aperture Priority mode and learn how shutter speed works, what white balance is and what ISO and f-stops are all about. Always shoot in RAW format. When you shoot in JPEG you get a compressed file, you lose so much data in your image and it is a lot harder to alter in post-production. RAW format gives you full control because it gives you all the data captured on your sensor.
Yes, it is a larger file but for a reason. Shooting in JPEG is like buying a Ferrari and driving in third gear. For instance, JPEG records 256 levels of brightness whereas RAW records up to 16,384. That’s just one example, the choice is yours!
There are tons of useful tutorial videos on YouTube with brilliant tips and tricks. Karl Taylor has an excellent channel and is very easy to listen to with no B.S. – Here is a link.
While trekking, you will touch on photography genres like landscape, wildlife, candid, documentary, portrait and street photography. You may not think it at the time but every genre is similar in approach but with the application of different techniques. There are simple skills you can develop that will become automatic in your approach while your technique is continually changing. The beauty about going on trips like these is that every day is different and diverse opportunities are endless so get cracking on learning the basics and practice, practice, practice.

Be Brave
To create a compelling image, it must evoke true emotion and authenticity. I find the best technique to extract emotion from your subject is to try and become part of that second in time. A simple wave or a nod with a smile to settle or acknowledge someone can draw more realism.
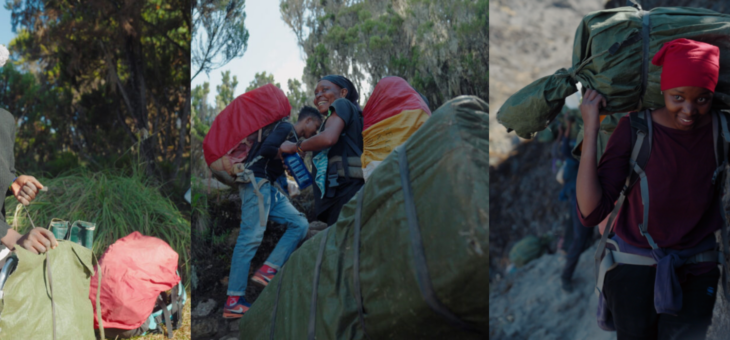
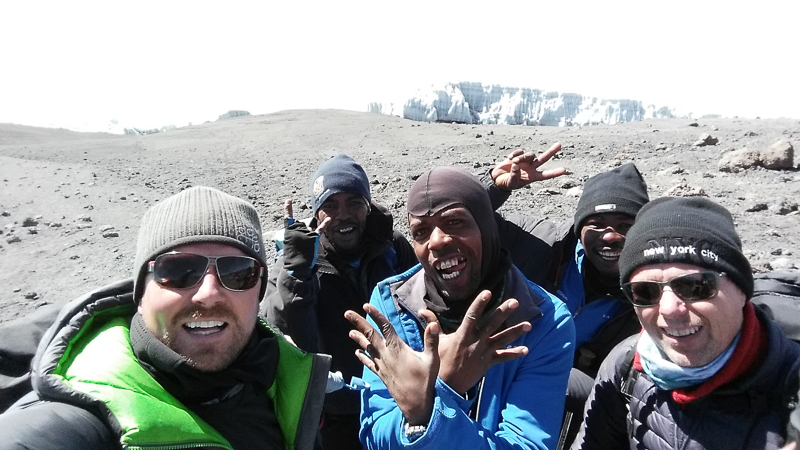
Most guides and porters you meet all over the world love to get their photograph taken. Well, most of Earth’s Edge staff do anyway! They love to engage with the trekkers talking about their culture and how they live which gives you great opportunities to enter their space and photograph them. They have so much passion for their job and work so hard for you to reach your goals, they become a huge part of your journey and you will never forget them. Photographing them is a privilege. They know more about the mountains than you do and could end up showing you some amazing viewpoints.
When visiting local towns just be aware that not everyone is so kind and may not want their photograph taken. Mind your equipment when out and about. More interesting shots of local people are not usually around the touristy parts so you may want to head up side streets to capture the true essence of how they live. Just remember your bearings.
In Tanzania, the military and the police don’t like their photograph taken so just check out local laws to be sure. Sometimes you can irritate locals like the Maasai kids we met on the way back from the safari where they wanted cash because I photographed them, that was funny. One of my fellow trekkers, Eoin, decided to give our new friends a box of Pringles instead which was a lovely sight, an incidental occurrence and a pleasure to capture. Always have your camera with you for these simple, unexpected events! Don’t put your camera away at the first sight of rain. The colours during and right after a downpour can be spectacular leaving rocks and hills with that rainbow hue so keep your camera ready always.

Get High, Down Low
Always be on the lookout for new viewpoints, anywhere that will give you a new slant to your shot. Sometimes a pretty shot can be right under your feet! Even though we are looking forward most of the time or looking at the ground gasping for air, always try and keep a keen eye on all your surroundings. Sometimes a vague reflection in a rippling puddle can be a nicer shot than a gushing waterfall. A worm’s eye view can create expansive views of unusual perspectives, especially with a wide lens. By placing your camera in or on the vegetation with the lens aiming at the sun bursting through the trees could make a very pleasant, colourful and intimate image. Don’t be afraid to shoot directly at the sun either.
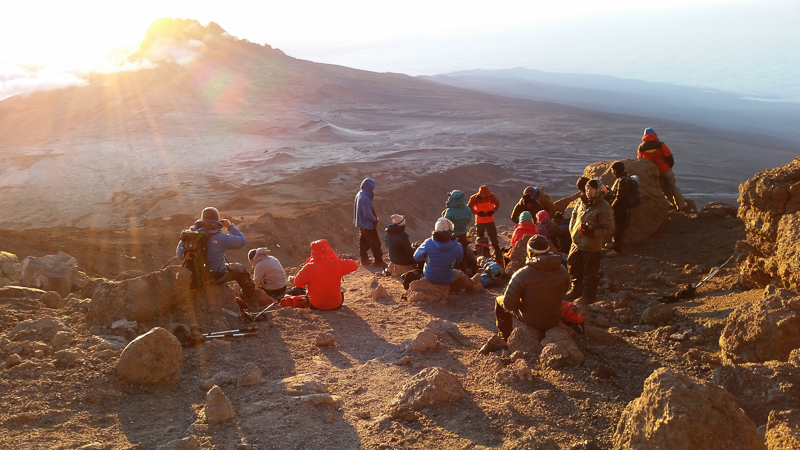
When you get over the cloud line, even though you are heading up to the summit, you end up looking back down most of the time. Evening silhouette shots are a popular choice as the sun goes down below the clouds just after the “magic hour” so you need to find the perfect balance between opening your aperture long enough to let enough light in, choosing the right ISO and taking the shot quick enough to capture the likes of a group jumping in the air all the while keeping the foreground dark. This is a good one to practice before you go.
Our guides were very informative sharing with us all about the local flora and fauna that exist on the mountain but don’t panic and start taking shots of everything you see as there will be ample opportunity to explore on your downtime and check everything out. On the descent through the Kilimanjaro jungle, the foggy mist being reflected by the sun through the trees is really a spectacular shot. Don’t be afraid to be creative and put yourself in precarious positions to capture a shot. It may appear odd at times but taking a photograph from a position other than the human eye level looks different. It’s not all about photographing the summit, it’s also about your visual memory of the journey.
Sometimes a wide angle photograph can lack interpretation and depth so maybe don’t choose to go for the full open shot every time. Try zooming in slightly and position yourself by using the rule of thirds where your point of interest in your frame is slightly to the left or to the right or slightly to the top or the bottom. This simple concept of getting your framing right draws your attention to that point of interest. If you have a chance to zoom in a bit more, do it if you see something more interesting. For example, a simple close up of well-worked hands tying the laces on a worn-out pair of boots can yield such creativity and produce a really special shot. Just keep trying new positions.
Trekking at altitude, the sun and the clouds are your friend and your enemy. The clouds can clear then suddenly smother a mountain in seconds and near the equator, the sun goes down pretty quick so be ready for that.

Plan to wing It
Telling a story with photographs is easy if you have the mentality of stopping time. Realism in photography and all visual arts is the accurate depiction of lifeforms.
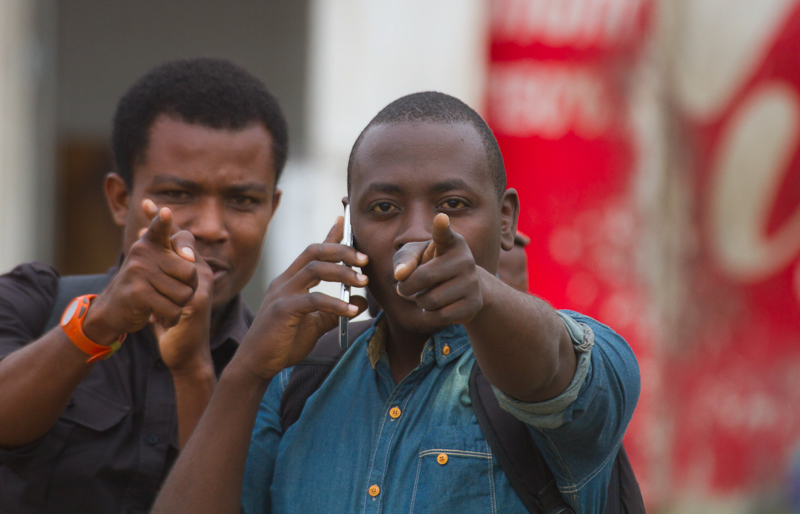
What you see may appear ordinary through the human eye because of quick movement and changing positions and emotions so you won’t always see it straight away. By randomly photographing other climbers, guides and porters as they go about their business you just might capture a cracking image, plus there is a degree of luck in photography. Candid photos tell you so much more about a person or place than a setup posed shot so keep snapping as you might just get lucky.
Some of my favourite pics I captured were while travelling out of Arusha by bus. It’s usually not advised to photograph while moving at speed on a bumpy road but if you know how to freeze your subject with a moving background, I’d say go for it. Slightly slowing down your shutter speed and moving with your subject can achieve this.
Using the AEB setting on your camera is very useful too. Automatic Exposure Bracketing is where you capture three images with one click of the shutter. You get one underexposed image (slightly darker), one right image and one overexposed image (slightly brighter) of the exact same image. By doing this you can achieve a vibrant photo known as HDR (high dynamic range) which is layering your three images together. I have found Photomatix to be the best software to blend these images together. It may sound complicated but is quite simple to use. Sometimes you may be satisfied with just one of the three images and not bother with HDR. It’s worth a shot.

Editing trekking photos
Never listen to people who say that photo editing is cheating. Photo editing is part of digital photography. You are not going to move mountain ranges or add lakes to your photographs but you may remove sun glare, brighten it up or add clarity and saturation etc. Subtle changes can enhance your image that you worked so hard to capture, so why not.
Cropping an image is one of the easiest tweaks that can add effect to an image. This simple action can completely change the emphasis of your image by erasing unwanted or distracting objects. By doing this, you draw the attention towards the focal point of an image and this, in turn, can transform an average image to a gripping one. If you misframed your shot, this is where you add the rule of thirds. Try not to over saturate your images like most tend to do starting out. Little tweaks are more effective.
Lightroom is the easiest software to use when it comes to editing and handling your images.

No regrets
While talking to some of my trekking buddies after our expedition, one common thought was that they regretted not taking more photos or wished they had brought a better camera other than the one on their phone. I’ve viewed some of their shots and some produced some great images but I do understand where they were coming from. Those with good cameras were delighted they took them along. It’s great having other photographers to discuss with as well. My fantastic tent buddy, Mick, is a photography enthusiast also and we spent hours conferring along the way.
While I will admit that I was a bit anxious bringing expensive equipment around the world as it can take a bit of a battering, and it did, ultimately it was worth it. Everyone knows a great photograph when they see one and It’s nice to take photos the way you see it. All I will say is, if you do bring a camera, you will not regret it.
Learn the basics and keep it around your neck. If you are relying on the camera on your phone, it’s vital to master the settings before you go and do bring that annoying selfie stick too. I never used one prior to this trek nor have I used one since but they are very handy especially when videoing on the move. Best €6 I’ve ever spent! You probably will take an odd selfie but don’t be too worried about looking gorgeous all the time. Take them in the moment. Snow, sweat and tears included. It is what it is – real and raw!
I didn’t bring my DSLR camera to the summit. It was just too heavy and it was enough of a challenge carrying other essentials. Some of my favourite shots were taken on my Samsung phone but I made it a point to familiarise myself with all the settings. No matter what, ensure that you have lots of memory space, a full battery and keep it close to your body heat on the way up.

Final Push
Even though you probably would like to capture as much as possible in the picture, it’s very important to step back and take stock of where you are – live in the moment. Enjoy your surroundings and the company you are with. Hopefully, after your expedition, you will have made lots of friends. When it’s all over it’s lovely to flick through your photos and reminisce. Share your pics around and send some back to the guides and porters. Be kind if sharing on social media!
I personally had an amazing trip travelling with Earth’s Edge and will definitely be joining them on another expedition in the near future.
Click here to view some of my pictures from our expedition.
Happy snapping,
Brendan.
If you are interested in following in Brendan’s footsteps and joining us on one of our Kilimanjaro treks contact us today!